| Event Name | BIM - Parametric Workshop |
| Subject | Elective - BIM |
| Session | 2019 - 20 |
| Years | 3rd |
| Date | 2nd, 3rd, 4th July, 2019 |
| Semester | 6th |
| Subject Coordinator | Akshay Agte, Yogita Patil |
Day 1 – 2nd January, 2020
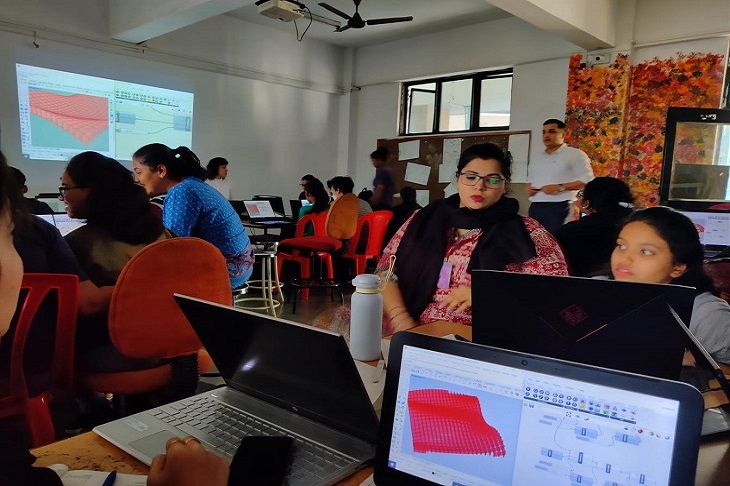
The workshop commenced with the interactive discussion on what is Parametric designs and its applications. It proceeded to the understanding of how parametric design is important not only aesthetically but also is sustainable. This interaction was followed by an ice breaking exercise on making forms using Rhino where students explored and reflected their creativity while learning basic interface at the same time.
The activity was followed by the Discussion on “How can this form be fabricated and built”. Later an interactive lecture on following two topics was taken.
- Understanding The Concepts of Parametric Designs
Basic understanding on what are parametric designs were given. This included discussion on how this is used in architecture by showing the students some live ongoing projects based on the same concept. - Basic Interface of Rhino
Under this section, we introduced surface modelling software i.e. Rhino. It included introduction of interface, setting up grids, units, layers, terminologies, understanding different geometries of Rhino, modifying the geometries with mesh and control points. - Creating Individual Forms
Students were then given a hands-on experience on the software by taking an exercise of creating forms using rhino. The surface created by student incorporated different modelling techniques in rhino and can be either roof contour or any other architectural element.
This session attempted to convey the overall and broader canvas of different kinds of techniques which can be used while designing a structure.
Day 2 – 3rd January, 2020
The second day of the workshop aimed at opening up students in more interactive discussions and understand their responses on the previous day’s sessions. It also conducted the individual discussions for resolving parametric and software related doubts at personal level.
- Introduction to Grasshopper
This session aimed at brain storming session on previous day’s session and introduction of another plugin of Rhino i.e. Grasshopper. This included introduction to interface and unlike other software how grasshopper is different and how the power of algorithms can be used to create various permutation and combinations of design options using visual coding which is native with Rhino 3d. Student were then shown examples of projects like Heydar Aliyev Center by Zaha Hadid which used visual coding and various permutations using grasshopper. - Linking Rhino and Grasshopper
This session helped students understand the significance of grasshopper. Students were given an assignment where the form created by them was linked to grasshopper. After linking the forms to grasshopper, commands like contours where the surface were divided into smaller parts so that it can be worked on easily and later drawings can be extracted for fabrication. - Visual Coding
The day concluded with creating a grasshopper script from which fabrication drawings of the created form can be extracted. It aimed at brainstorming session as students were able to visualize their form in detail and from all perspectives. This gave them a better understanding of their forms.
Day 3 – 4th January, 2020
The third and final day of the workshop aimed at doubt solving on individual level. Student were exposed to different methodology and approach for the same output.
- Extracting Drawings
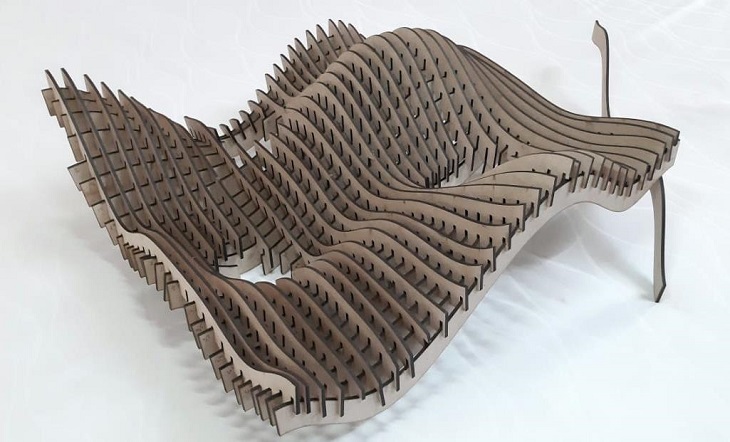
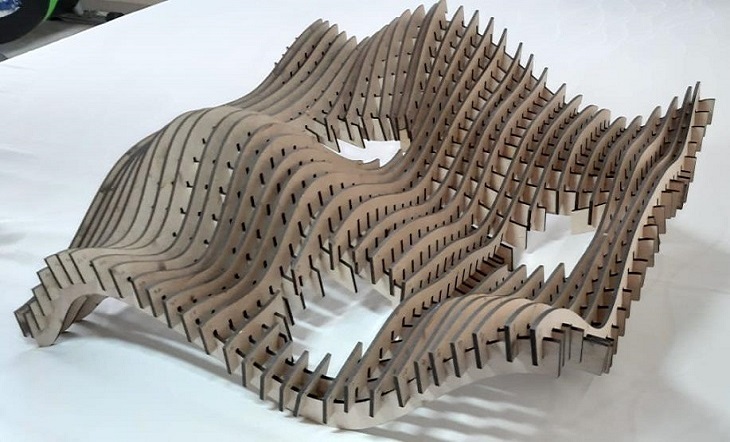
This section included an interactive session where students were asked to divide themselves in group of 6. From each group one design was selected for fabrication. This group assignment included teamwork where all the fabrication related drawings were to be extracted for the selected form. - Fabrication
In this session, students were encouraged to laser cut MDF or other material of their choice using the drawings extracted. Subsequently, students were asked to assemble the laser cut model in groups which can be later displayed for exhibition. - Fabricated Models